Who doesn’t love the comforting aroma of a freshly baked cherry pie wafting through the kitchen? This timeless dessert combines the sweet and tangy flavor of juicy cherries with a flaky, buttery crust that melts in your mouth. Whether you’re celebrating a special occasion or simply craving a classic treat, this cherry pie is the perfect way to brighten your day.
With a straightforward recipe that’s beginner-friendly yet impressive enough for seasoned bakers, you’ll love how effortlessly this pie comes together. Ready to create a dessert that’s as delightful to make as it is to share? Let’s dive into the magic of cherry pie bliss!
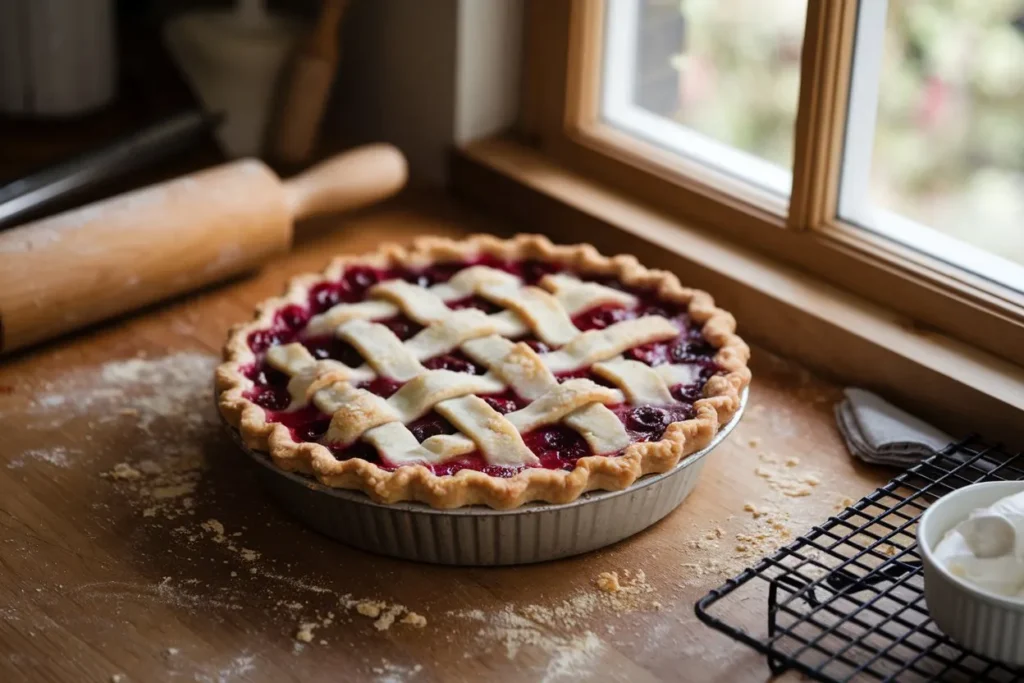
Table of Contents
Key Benefits
Cherry pie is more than just a delicious dessert—it’s a celebration of flavor and tradition. Let’s take a moment to explore why this irresistible cherry pie recipe should be your go-to for any occasion:
- Fresh & Vibrant Flavor: The sweet-tart combination of ripe cherries gives each bite an explosion of flavor. Whether you’re using fresh or frozen cherries, the filling captures the essence of the fruit beautifully. You can even experiment with different types of cherries, like Bing or Montmorency, for a unique twist!
- Perfect Balance of Texture: The buttery, flaky crust contrasts wonderfully with the juicy cherry filling. Every slice offers the right amount of crispness, making it satisfying with each bite. It’s the kind of texture you can’t get from store-bought pies!
- Customizable to Your Taste: Not only is cherry pie a versatile dessert, but it also offers endless possibilities for personal touches. Add a sprinkle of cinnamon or a dash of almond extract for a hint of warmth, or top it off with a scoop of vanilla ice cream for an extra indulgent treat.
- Easy to Make, Hard to Resist: This recipe is perfect for both beginners and experienced bakers. With simple ingredients like cherries, sugar, and butter, you can whip up a pie in no time. The straightforward steps ensure that the process is enjoyable and foolproof.
- An All-Occasion Dessert: Whether you’re hosting a summer BBQ, preparing for a holiday gathering, or just craving a slice of homemade goodness, cherry pie fits the bill. Its timeless appeal makes it the ultimate dessert for nearly every occasion.
Ingredients
To create the perfect cherry pie, you’ll need a handful of simple ingredients that come together to make magic. Here’s everything you’ll need to bring your cherry pie to life:
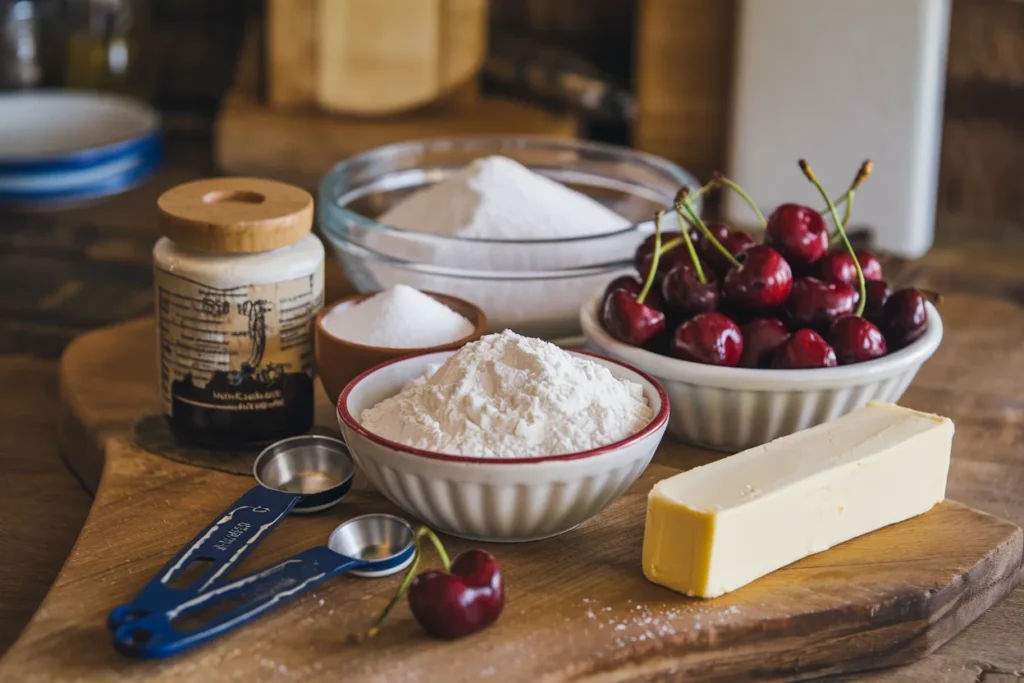
For the Pie Crust:
- 2 cups all-purpose flour: This will be the base of your crust, providing structure and flakiness.
- ½ teaspoon salt: A touch of salt helps balance the sweetness of the cherry filling.
- ¾ cup unsalted butter, cold and cubed: Cold butter is the secret to a flaky, tender crust. Don’t skip this step!
- 4–6 tablespoons ice water: The cold water helps bring the dough together without warming up the butter, ensuring a flaky texture.
For the Cherry Filling:
- 5 cups pitted cherries (fresh or frozen): Fresh cherries are ideal when in season, but frozen works just as well. If using frozen cherries, be sure to drain any excess liquid.
- 1 cup granulated sugar: The sugar will enhance the natural sweetness of the cherries while balancing their tartness.
- ¼ cup cornstarch: This is the thickening agent that ensures your cherry filling isn’t too runny. It will give your pie the perfect consistency.
- 1 tablespoon lemon juice: A touch of acid to brighten the flavor and bring out the cherries’ natural tanginess.
- ½ teaspoon almond extract: This adds a subtle, nutty depth of flavor that enhances the cherries.
- 1 tablespoon unsalted butter, cut into small pieces: Dotting the filling with butter helps it cook beautifully and adds richness.
For the Egg Wash (Optional, for a Golden Crust):
- 1 egg, beaten: The egg wash will give your pie a golden, glossy finish.
- 1 tablespoon coarse sugar (optional): For a bit of extra sweetness and a hint of crunch on top.
With these ingredients on hand, you’re ready to start! Each one plays a vital role in creating a pie that’s just the right balance of sweet, tart, buttery, and flaky. Now, let’s move on to assembling this delicious dessert!
Instructions
Now that you’ve gathered your ingredients, it’s time to dive into the fun part—making the cherry pie! Don’t worry, I’ll guide you through each step with easy-to-follow instructions. Ready to create this sweet masterpiece? Let’s get started!
Step 1: Make the Pie Dough
- Preheat the oven: Start by setting your oven to 375°F (190°C) to ensure it’s nice and hot when the pie is ready to bake.
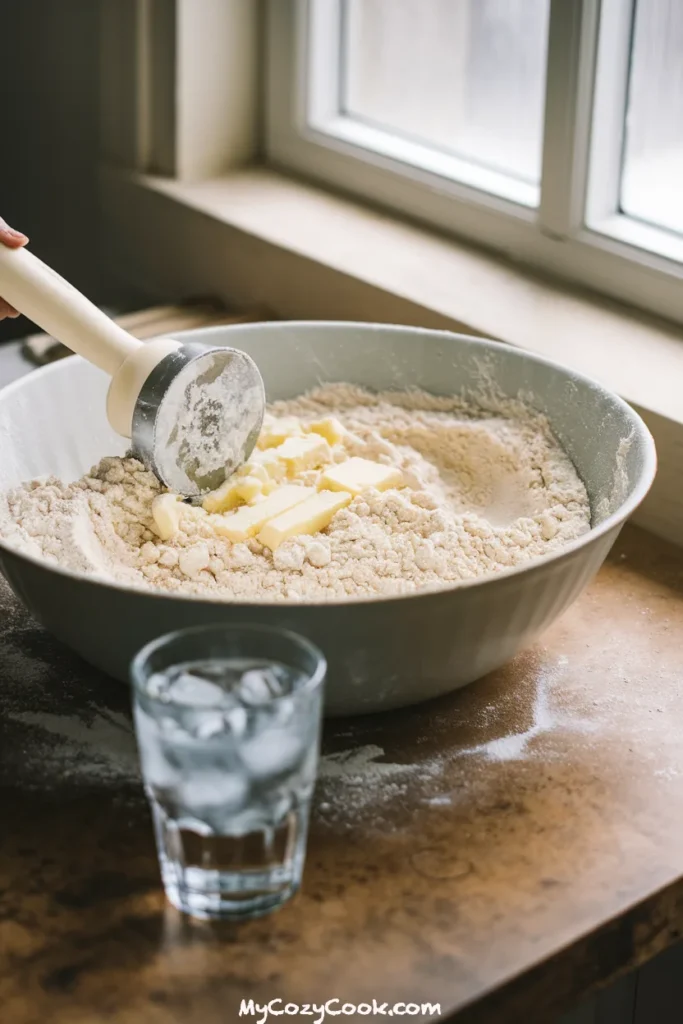
- Prepare the dry ingredients: In a large bowl, combine 2 cups of flour and ½ teaspoon salt. This forms the base of your pie crust.
- Cut in the butter: Add ¾ cup of cold, cubed unsalted butter. Use a pastry cutter or your fingers to work the butter into the flour until the mixture resembles coarse crumbs. You want to see small pea-sized pieces of butter.
- Add ice water: Gradually add 4–6 tablespoons of ice water, one tablespoon at a time. Mix gently with a fork after each addition. Stop when the dough begins to come together. Don’t overwork it—less is more for a flaky crust.
- Chill the dough: Divide the dough into two halves, shape them into disks, wrap each in plastic wrap, and refrigerate for at least 30 minutes. This step helps the dough firm up, making it easier to roll out.
Step 2: Prepare the Cherry Filling
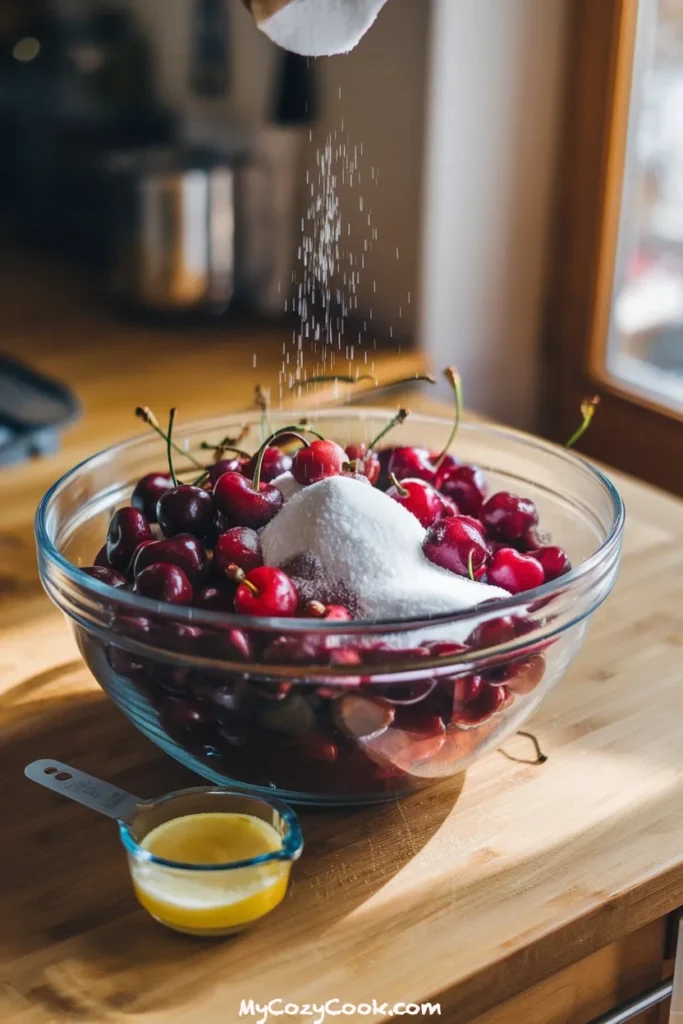
- Combine the ingredients: In a large bowl, mix together 5 cups of pitted cherries, 1 cup of sugar, ¼ cup of cornstarch, 1 tablespoon of lemon juice, and ½ teaspoon of almond extract. Stir everything gently until the cherries are evenly coated with the sugar and cornstarch mixture.
- Let it sit: Set the cherry filling aside while you roll out the dough. This allows the flavors to mingle and the cornstarch to start working its thickening magic.
Step 3: Assemble the Pie
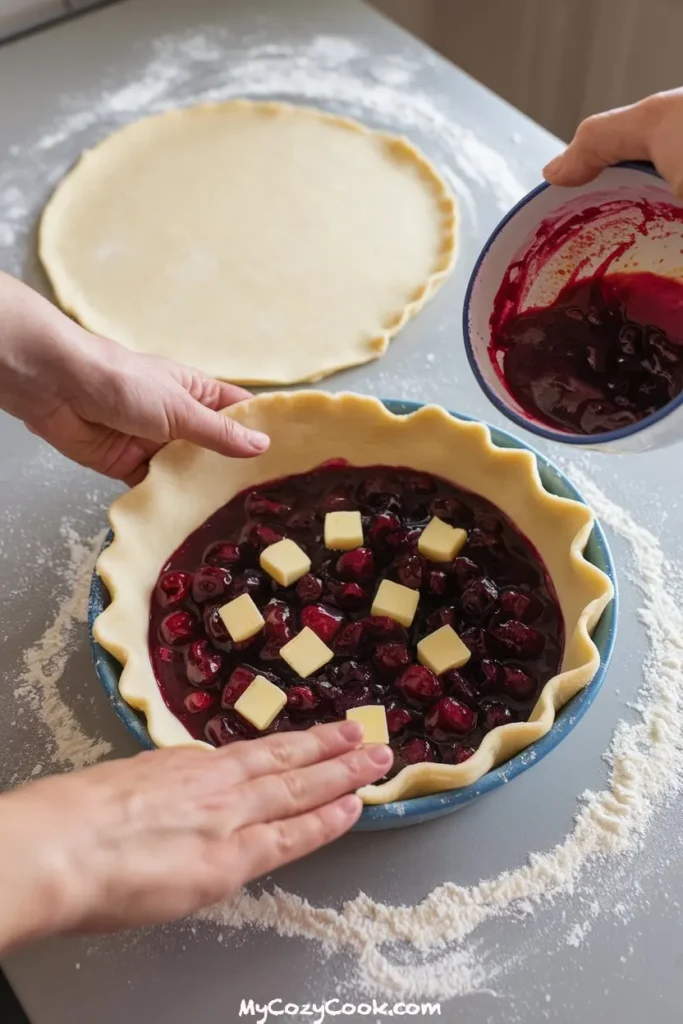
- Roll out the dough: On a floured surface, roll out one disk of dough into a circle large enough to fit a 9-inch pie dish. Aim for about 1/8-inch thickness. Gently place the dough into the pie dish and trim the edges, leaving about a 1-inch overhang.
- Fill the pie: Pour the prepared cherry filling into the crust, spreading it out evenly. Dot the top with small pieces of butter to add richness to the filling.
- Top with the second crust: Roll out the second disk of dough and place it over the cherry filling. Trim and crimp the edges to seal the pie, then cut small slits in the top to allow steam to escape during baking. This ensures a beautifully flaky top!
Step 4: Bake the Pie
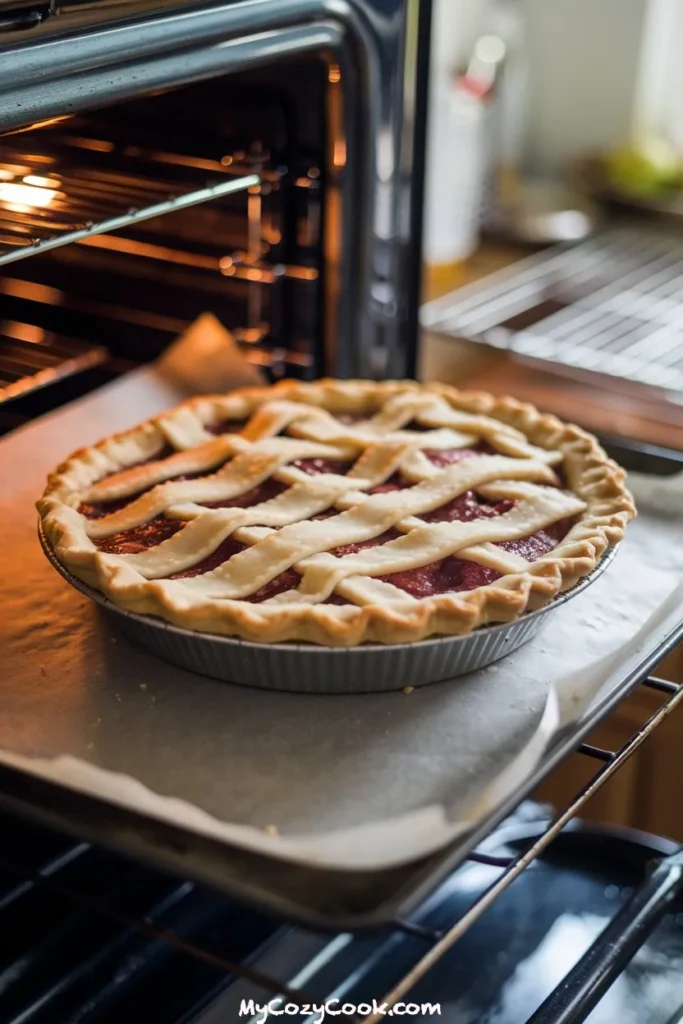
- Egg wash time: Brush the top of the pie with a beaten egg to give it that perfect golden color. If you like a little crunch, sprinkle 1 tablespoon of coarse sugar on top.
- Bake and watch the magic happen: Place the pie in the preheated oven and bake for 50–60 minutes, or until the crust is golden and the filling is bubbling. If the edges of the crust brown too quickly, cover them with foil to prevent burning.
Step 5: Cool & Serve
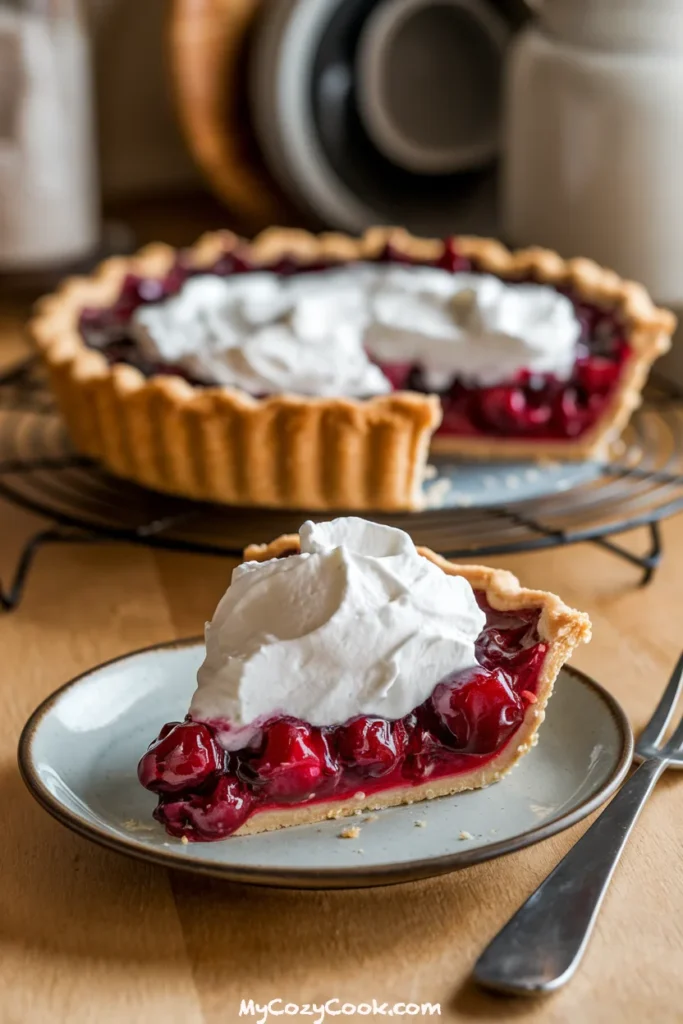
- Let it cool: Allow the pie to cool on a wire rack for at least an hour. This helps the filling set, so you don’t end up with a runny slice when you cut into it.
- Slice and enjoy: Once cooled, slice up your cherry pie and serve it with a dollop of whipped cream or a scoop of vanilla ice cream for that extra touch of indulgence.
Pro Tips and Variations
Here’s where we take your cherry pie from great to extraordinary! Whether you’re looking for some tips to perfect your technique or ideas to make this pie uniquely yours, I’ve got you covered. Read on for some expert advice and creative twists that will elevate your cherry pie game.
Pro Tips for the Perfect Pie
- Use Cold Ingredients: For a flaky pie crust, keep your butter and water cold. This prevents the butter from melting into the dough before baking, which is what gives you those delicious layers of flakiness.
- Don’t Overmix the Dough: When making pie dough, less is more! Overmixing can make the crust tough. Stop mixing as soon as the dough comes together, and you’ll have a tender, melt-in-your-mouth pie crust.
- Let the Filling Sit: After mixing the cherries, sugar, and cornstarch, let the filling sit for about 10 minutes before assembling the pie. This gives the cornstarch time to absorb the juices and thicken the filling, which prevents the pie from being too runny.
- Use a Pie Shield or Foil: If the edges of the crust start to brown too quickly during baking, cover them with a pie shield or a strip of aluminum foil to protect them. This will keep your crust perfectly golden without burning the edges.
- Cool Before Slicing: Patience is key here! Allow the pie to cool for at least an hour before cutting into it. This helps the filling set, ensuring perfect slices without oozing.
Fun Variations to Try
- Mixed Berry Cherry Pie: Add a handful of fresh blueberries or raspberries to your cherry filling for a fruity twist. The tartness of the berries pairs wonderfully with the sweet cherries.
- Cinnamon Cherry Pie: For a warm, comforting flavor, sprinkle in 1/2 teaspoon of cinnamon with your cherry filling. It adds depth and complexity to the sweetness of the cherries.
- Almond Cherry Pie: Enhance the almond extract flavor by sprinkling some sliced almonds on top of the crust before baking. This gives the pie a subtle nutty flavor and a beautiful crunch.
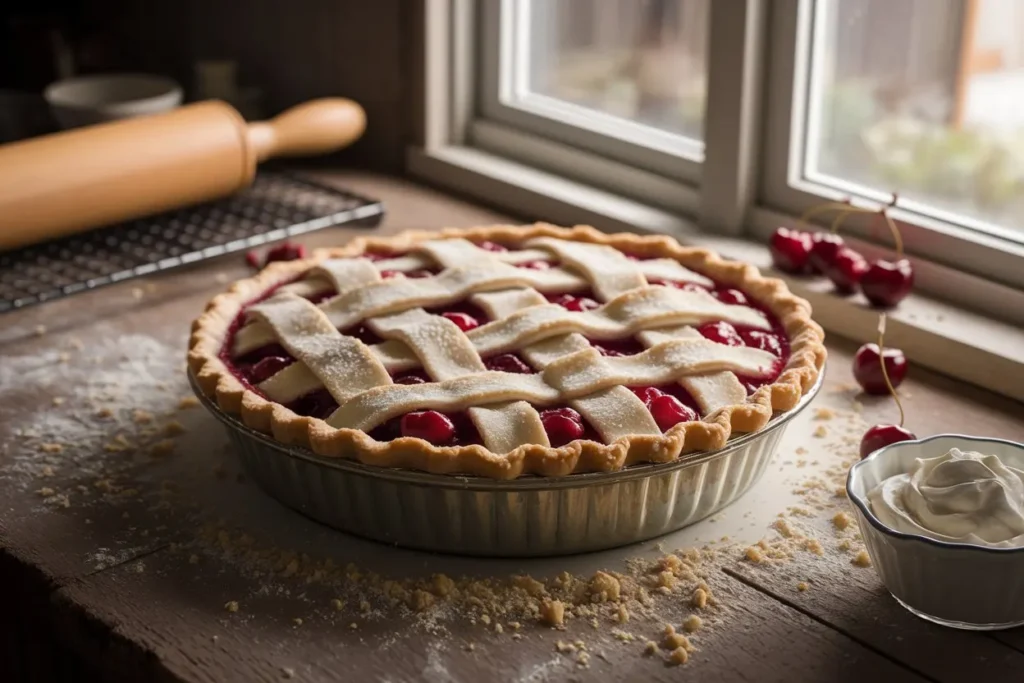
- Lattice Top: For a show-stopping presentation, try a lattice crust instead of a full top. Simply cut your second pie dough disk into strips and weave them over the cherry filling for a classic lattice design. It’s as fun to make as it is to eat!
Health-Conscious Options
- Less Sugar, More Natural Sweetness: If you prefer a less sugary filling, reduce the granulated sugar by half and let the natural sweetness of the cherries shine. You can also experiment with using honey or maple syrup for a different flavor profile.
- Whole Wheat Crust: For a more wholesome crust, try substituting some or all of the all-purpose flour with whole wheat flour. This gives the pie a slightly nutty flavor and adds fiber.
Serving Suggestions
There’s nothing quite like enjoying a fresh slice of homemade cherry pie, and how you serve it can make it even more special! Whether you’re sharing it with family after dinner or bringing it to a celebration, here are some delightful ways to serve your cherry pie for maximum enjoyment.
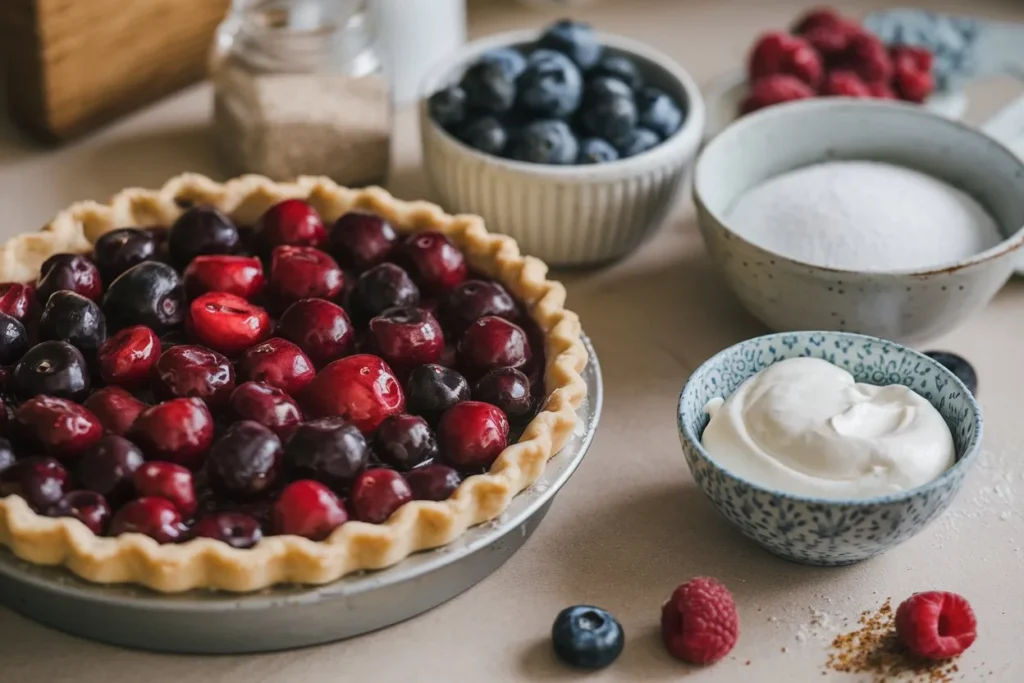
Classic & Simple
- Straight from the Pie Dish: Sometimes, the best way to enjoy cherry pie is simply as it is. Serve a warm slice straight from the pie dish with a light dusting of powdered sugar on top. This keeps the focus on the rich flavor of the cherries and the flaky crust.
Decadent Toppings
- Whipped Cream: A dollop of freshly whipped cream is always a crowd-pleaser. Its light and airy texture complements the sweet-tart cherries beautifully.
- Vanilla Ice Cream: For an indulgent treat, serve a slice of cherry pie with a scoop of vanilla ice cream. The creamy ice cream balances the pie’s tangy cherry filling and adds a cool contrast to the warm pie.
- Cinnamon Sugar: Sprinkle a bit of cinnamon sugar on top for a hint of spice that enhances the cherry flavor. It adds a nice touch without overpowering the taste of the pie.
Unique Pairings
- Cheese: Pair your cherry pie with a small slice of sharp cheddar cheese for a fun, savory twist. This pairing may sound unusual, but the richness of the cheese beautifully complements the bright, tart cherries.
- Coffee or Tea: A warm cup of coffee or a lightly brewed herbal tea makes a wonderful accompaniment to cherry pie. The boldness of coffee or the calming flavors of tea balance out the sweetness, making it a great dessert for any time of day.
For Special Occasions
- Fruit Compote: Top your cherry pie with a homemade fruit compote of mixed berries for an extra layer of flavor and color. This will not only enhance the visual appeal but also add another layer of fresh fruitiness to the pie.
- Drizzle of Caramel: For an extra touch of decadence, drizzle caramel sauce over your pie before serving. The sweet, rich caramel pairs perfectly with the tart cherries for an indulgent dessert experience.
Make it a Showstopper
- Pie à la Mode: For an unforgettable treat, go all out with a cherry pie à la mode! Place a slice of warm cherry pie in a bowl, top with a scoop of ice cream, and drizzle with chocolate or caramel sauce for an indulgent dessert that’s sure to impress.
With these creative serving suggestions, you’ll turn a simple slice of cherry pie into a memorable experience. Whether you prefer a classic, simple approach or like to make your pie a little more extravagant, there’s a way to enjoy it for every occasion.
Conclusion
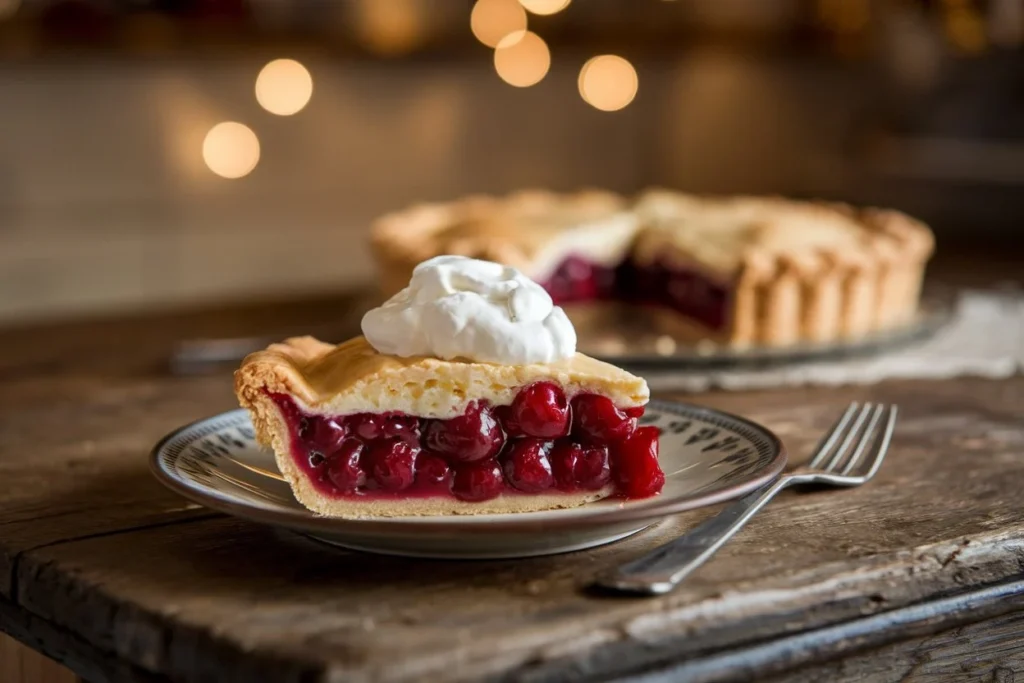
There you have it—a delicious, homemade cherry pie that’s as beautiful as it is tasty. Whether you’re baking it for a special occasion or just because you crave something sweet, this pie will never disappoint. The balance of sweet, tangy cherries with the buttery, flaky crust is a timeless combination that always leaves a lasting impression.
Why You’ll Love This Recipe:
- It’s made with simple, fresh ingredients that you can easily find.
- The recipe is adaptable, allowing you to experiment with different variations and toppings.
- It’s a crowd-pleaser—perfect for family gatherings, holidays, or even just a cozy treat at home.
With a bit of patience and love, you’ll have a pie that’s perfect for any occasion. The best part? It’s not just about the taste—it’s about the experience of making something from scratch, knowing every bite is filled with care and flavor.
If you want to make your cherry pie even more special, why not top it with some Sugar-Free Whipped Cream? It’s a great way to add a light, creamy touch without the extra sugar.
And if you’re looking for more fun dessert ideas, why not try making a Pineapple Dump Cake next time? It’s another simple, crowd-pleasing dessert that’s just as easy to prepare and equally delicious.
So, what are you waiting for? Grab your ingredients and get baking—this cherry pie is sure to become a family favorite!
FAQs
Can I use frozen cherries instead of fresh?
Absolutely! Frozen cherries work just as well as fresh cherries for this recipe. In fact, they can even be a bit more convenient, especially if fresh cherries are out of season. Just be sure to thaw them and drain any excess juice before using them in your pie to prevent a soggy crust.
How do I prevent the crust from getting soggy?
The key to a crispy, flaky crust lies in pre-baking the bottom crust (also called blind baking). Simply bake the bottom crust for about 10-15 minutes at 375°F (190°C) before adding the cherry filling. You can also try brushing the crust with a little bit of egg wash before adding the filling for extra protection.
How do I make the cherry filling thicker?
If you want your cherry filling to be even thicker, you can add a bit more cornstarch—about an extra tablespoon. Another option is to cook the filling for a few minutes before adding it to the crust, which helps to thicken the juices. Just remember to let it cool slightly before pouring it into the pie to avoid melting the crust.
Can I make this pie ahead of time?
Yes! You can prepare the pie a day or two in advance. Just store the unbaked pie in the fridge, and bake it when you’re ready to serve. If you prefer to bake it in advance, make sure to cool it completely before covering and storing it at room temperature. Reheat it in the oven for a few minutes to bring it back to life!
Can I substitute the sugar in the filling for a sugar alternative?
If you prefer a sugar-free option, feel free to use your favorite sugar substitute, like Stevia or Erythritol. Just make sure to adjust the amount to suit the sweetness level you desire, as some alternatives are sweeter than granulated sugar.
Why does my cherry pie crust shrink when baking?
Crust shrinkage can happen if the dough isn’t chilled enough before baking. Chill your dough for at least 30 minutes before rolling it out, and make sure to handle it gently. Additionally, using a flour-dusted rolling pin helps to avoid stretching the dough too much when transferring it to the pie dish.
Cherry Pie
Equipment
- 9-inch pie dish
- Rolling Pin
- Large bowl
- Pastry cutter or fork (for cutting in the butter)
- Sharp Knife (for cutting dough and making slits in the crust)
- Baking Sheet
- Wire Rack (for cooling)
Ingredients
For the Pie Crust:
- 2 cups all-purpose flour
- ½ teaspoon salt
- ¾ cup unsalted butter cold and cubed
- 4-6 tablespoons ice water
For the Cherry Filling:
- 5 cups pitted cherries fresh or frozen
- 1 cup granulated sugar
- ¼ cup cornstarch
- 1 tablespoon lemon juice
- ½ teaspoon almond extract
- 1 tablespoon unsalted butter cut into small pieces
For the Egg Wash:
- 1 egg beaten
- 1 tablespoon coarse sugar optional
Instructions
- Make the Pie Dough: Preheat the oven to 375°F (190°C). In a large bowl, mix the flour and salt. Cut in the cold butter using a pastry cutter or fork until the mixture resembles coarse crumbs. Gradually add ice water, one tablespoon at a time, until the dough just begins to come together. Divide the dough into two disks, wrap in plastic wrap, and chill for at least 30 minutes.
- Prepare the Cherry Filling: In a large bowl, combine the cherries, sugar, cornstarch, lemon juice, and almond extract. Stir well to coat the cherries evenly. Let the mixture sit for about 10 minutes while the cornstarch absorbs the juices.
- Assemble the Pie: Roll out one disk of dough on a floured surface to fit your 9-inch pie dish. Place the dough in the pie dish and trim the edges, leaving a 1-inch overhang. Fill the pie crust with the cherry mixture and dot the filling with small pieces of butter. Roll out the second dough disk and place it on top, trimming and crimping the edges to seal. Cut small slits in the top for steam.
- Bake the Pie: Brush the top of the pie with the beaten egg and sprinkle with coarse sugar if desired. Place the pie on a baking sheet and bake for 50-60 minutes, or until the crust is golden and the filling is bubbling. If the edges brown too quickly, cover with foil.
- Cool & Serve: Allow the pie to cool completely on a wire rack before slicing to let the filling set.
Video
Notes
Nutrition Information (Per Serving):
- Calories: 350 kcal
- Fat: 18g
- Saturated Fat: 9g
- Carbs: 45g
- Fiber: 2g
- Sugar: 30g
- Protein: 3g
- Cholesterol: 40mg
- Sodium: 180mg

4 thoughts on “Cherry Pie Bliss: Irresistibly Sweet and Easy Recipe”